


Quick summary - We’ll explore the different parts/tools needed to build a functioning django project and app. we'll cover the different parts of a django application and understand their uses as django has quite a lot of these right out of the box.
In this article, we'll see how we can install django, setup a django project and run a server that renders a webpage.
Prerequisites
In this tutorial, you will need basic knowledge of:
Python, pip and some HTML
without further ado, lets jump right in.
Introduction
What is Django?
According to the official docs Django is a high-level Python web framework that encourages rapid development and clean, pragmatic design. Built by experienced developers, it takes care of much of the hassle of web development, so you can focus on writing your app without needing to reinvent the wheel. It’s free and open source.
It is widely known and marketed as "the web framework for perfectionists with deadlines", basically this means django comes prebuilt with a lot of add-ons, packages and tools that makes your job as a developer way easier as it already solves a lot of common problems in development right out of the box and hence cuts down on development time.
It was built with 3 concepts in mind:
1. Ridiculously fast.
Django was designed to help developers take applications from concept to completion as quickly as possible.
2. Reassuringly secure.
Django takes security seriously and helps developers avoid many common security mistakes.
3. Exceedingly scalable.
Some of the busiest sites on the web leverage Django’s ability to quickly and flexibly scale.
You can definitely see why its ranked the second most popular backend framework in the world.
Getting started
We'll start by installing Django on our machine.
We can do so by opening our terminal and
by running the code:
pip install Django
This automatically installs the latest version of Django on your machine.
Next we want to create a virtual environment on our machine, where we can implement our Django project.
At its core, the main purpose of Python virtual environments is to create an isolated environment for Python projects. This means that each project can have its own dependencies, regardless of what dependencies every other project has. you can think of it as a clean slate or brand new machine where no other packages have been installed.
For the sake of this tutorial we'll be using virtualenvwrapper as is the quickest and easiest to setup.
To install virtualenvwrapper run:
pip install virtualenvwrapper
This should download the required packages.
Once downloaded we can create a virtual environment with the command:
mkvirtualenv django-intro
This creates a virtual environment on your machine with the name "django-intro", you can of course change the name as you please.
Once done, if successful you will see in parentheses the name of your virtual environment at the left of the terminal which is an indication that the virtual environment is active as shown below:

Next we want to install django in this virtual environment yet again with the command :
pip install django
As said before the virtual environment is like a totally clean slate which has no packages or dependencies.
Once django is installed we can start a project.
You want to start by creating a folder where you'll save your project, call it "django_intro".
Now in your terminal navigate to that folder.
Once in the folder we can create our django project by running the command:
django admin startproject django_project
After running this , immediately we notice some things
This creates a project with the standard starter files for any django project. inside the "django-intro" folder another folder named "django_project" was created, again you can use any other name for your project.
In the "django-project" folder you see another folder named "django-project" and a file named "manage.py", this is your root directory. This manage.py file is a convenience script that allows you to run administrative tasks in django as we'll see later.
On opening the "django-project" folder we see a couple of files:
- init.py: This file is usually empty and is just created to identify the directory as a python module
- asgi.py and wsgi.py: We wont be using these in this tutorial but they are concerned with the server and deployment of a django application.
- settings.py: This holds all the setting related to your project. we'll be adding and tweaking this file a bit as its very important.
- urls.py: A webapp may have different urls on a site so this file would be where you create urls and map them to different pages of your site.
Now we want to start our development server, where we can test out our web project on our machine in our browser.
We can do this by running this command in the terminal:
Python manage.py runserver
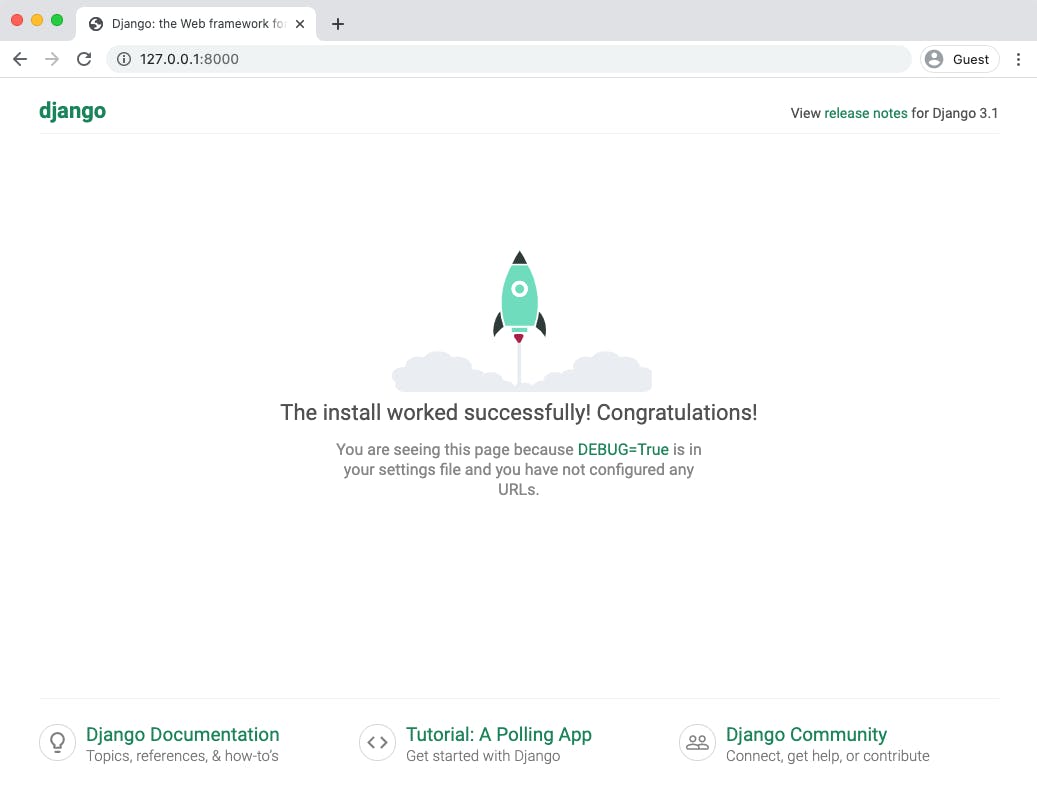 Congratulations you've created your first django project!